
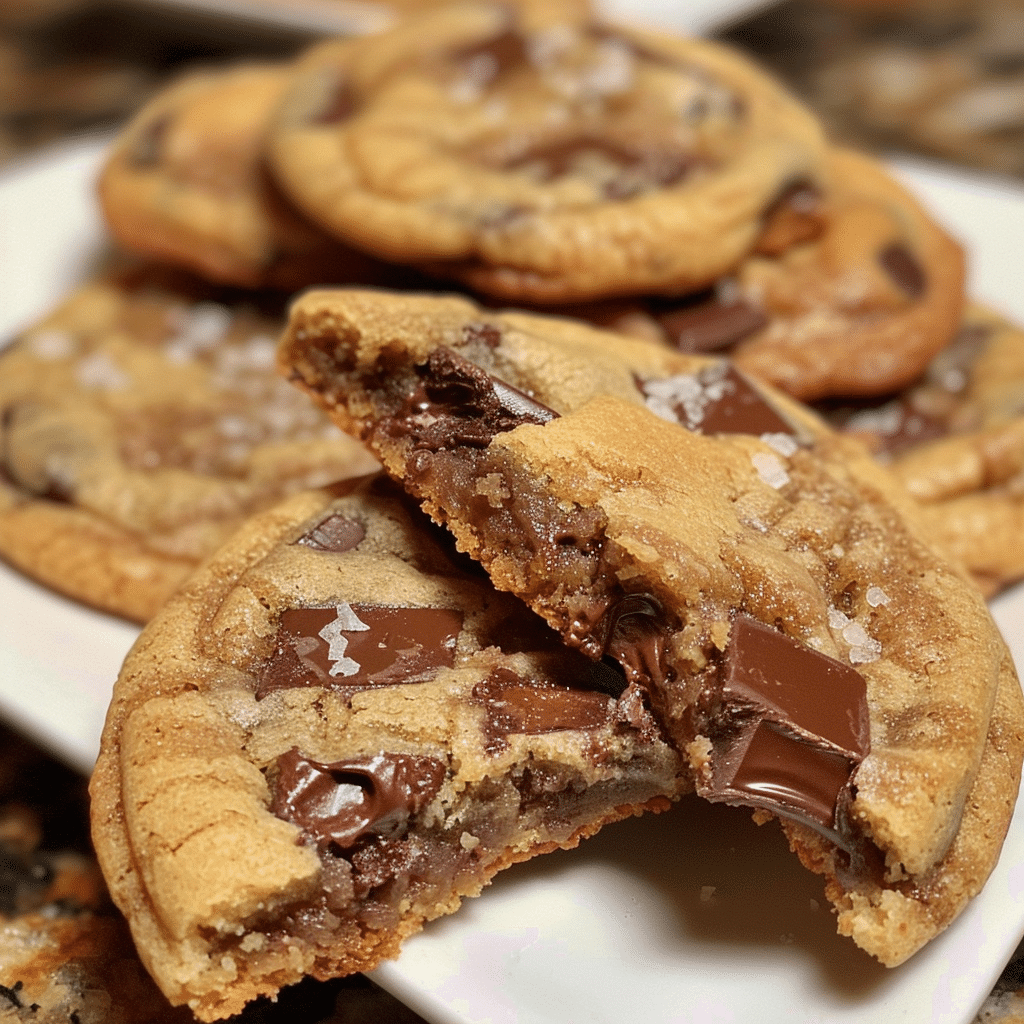
Most people have a go-to chocolate chip cookie recipe. A reliable one that comes out good every time and satisfies the craving reliably. These Chewy Brown Butter Chocolate Chip Cookies are the recipe that replaces that one permanently. The moment you taste the difference that browned butter makes — that deep, nutty, almost toffee-like caramelized quality that regular melted or softened butter simply cannot produce — standard chocolate chip cookies start to taste like they are missing something. Because they are.
Why You Will Love This Recipe
- Brown butter creates extraordinary depth of flavor — That nutty, caramelized, almost butterscotch-like quality that brown butter adds to the dough makes these cookies taste noticeably more complex and satisfying than any standard chocolate chip cookie recipe.
- Two types of chocolate for layered flavor — Dark chocolate chunks and semisweet chips provide different intensities of chocolate flavor and different textures in every bite — some melted and pooled, some holding their chip shape, all delicious.
- Perfectly chewy with crispy edges — Packed brown sugar, the right ratio of flour, and chilled dough all work together to produce cookies with the exact texture profile that makes a chocolate chip cookie genuinely exceptional.
- Flaky sea salt makes everything better — A light sprinkle of flaky salt over warm cookies straight from the oven amplifies the sweetness, the chocolate flavor, and the brown butter nuttiness in a way that makes each cookie taste more complete and sophisticated.
Ingredients You Will Need
- 10 tablespoons (140g) salted butter
- 1½ cups (215g) all-purpose flour
- ¾ teaspoon baking soda
- ¼ teaspoon salt
- ⅔ cup (145g) packed light brown sugar
- ⅓ cup (65g) granulated sugar
- 1 large egg, room temperature
- 1 tablespoon milk
- 1 teaspoon pure vanilla extract
- 3 oz (85g) dark chocolate, coarsely chopped
- ½ cup (85g) semisweet chocolate chips
- Flaky sea salt, optional
Tip: You will find the full list of ingredients and measurements in the recipe card below.
Let’s Get Started
- Brown the butter with full attention. Place the salted butter in a light-colored saucepan — stainless steel or a light-colored enamel pan is ideal because it allows you to clearly see the color of the milk solids changing at the bottom without a dark pan obscuring the view. Melt the butter over medium heat, stirring frequently. It will foam dramatically after a few minutes — keep stirring through the foam. As the foam subsides, you will see small golden-brown particles forming on the bottom of the pan and the liquid itself will turn a deep amber color. At this point the butter should smell deeply nutty, toasty, and slightly caramel-like. Remove from the heat immediately and pour every drop — including all the browned bits from the bottom — into a large mixing bowl. Those browned bits are where most of the flavor lives and they must not be left behind. Allow the brown butter to cool for 10–15 minutes until it is warm but not hot enough to cook the egg when added.
- Mix the sugars and wet ingredients. Add both the packed light brown sugar and granulated sugar to the cooled brown butter and whisk together until smooth and fully combined. The packed brown sugar is responsible for most of the chewiness in the finished cookies — measure it firmly packed into the cup for accurate results. Add the room temperature egg, milk, and vanilla extract and whisk vigorously for a full 60 seconds until the mixture has lightened slightly in color and looks smooth and cohesive. A room temperature egg incorporates more evenly than a cold one and contributes to a more uniform finished texture.
- Add the dry ingredients. In a separate bowl, whisk together the flour, baking soda, and salt until evenly combined. Add the dry ingredients to the wet mixture and fold with a large spatula using gentle, deliberate strokes until just combined and no dry flour streaks remain. Accurate flour measurement is critical in this recipe — spoon the flour into the measuring cup and level off the top rather than scooping directly from the bag, which compacts the flour and leads to too much in the dough and cookies that spread too little and turn out cakey rather than chewy.
- Fold in the chocolate. Add the coarsely chopped dark chocolate chunks and the semisweet chocolate chips to the dough and fold through until evenly distributed. The combination of chopped chocolate and chips creates two different textures of chocolate in the finished cookie — the chunks melt into irregular pools and puddles while the chips hold their shape more — and the different cocoa percentages add layers of chocolate complexity that a single type of chocolate cannot provide.
- Chill the dough. Cover the bowl tightly with plastic wrap and refrigerate for a minimum of 30 minutes — though 24–48 hours produces the most exceptional result. Chilling solidifies the fat in the dough which slows spreading during baking and produces thicker cookies with more defined edges. The extended rest also allows the flour to fully hydrate and the flavors — particularly the brown butter and brown sugar — to deepen and mellow into something far more complex than freshly mixed dough tastes.
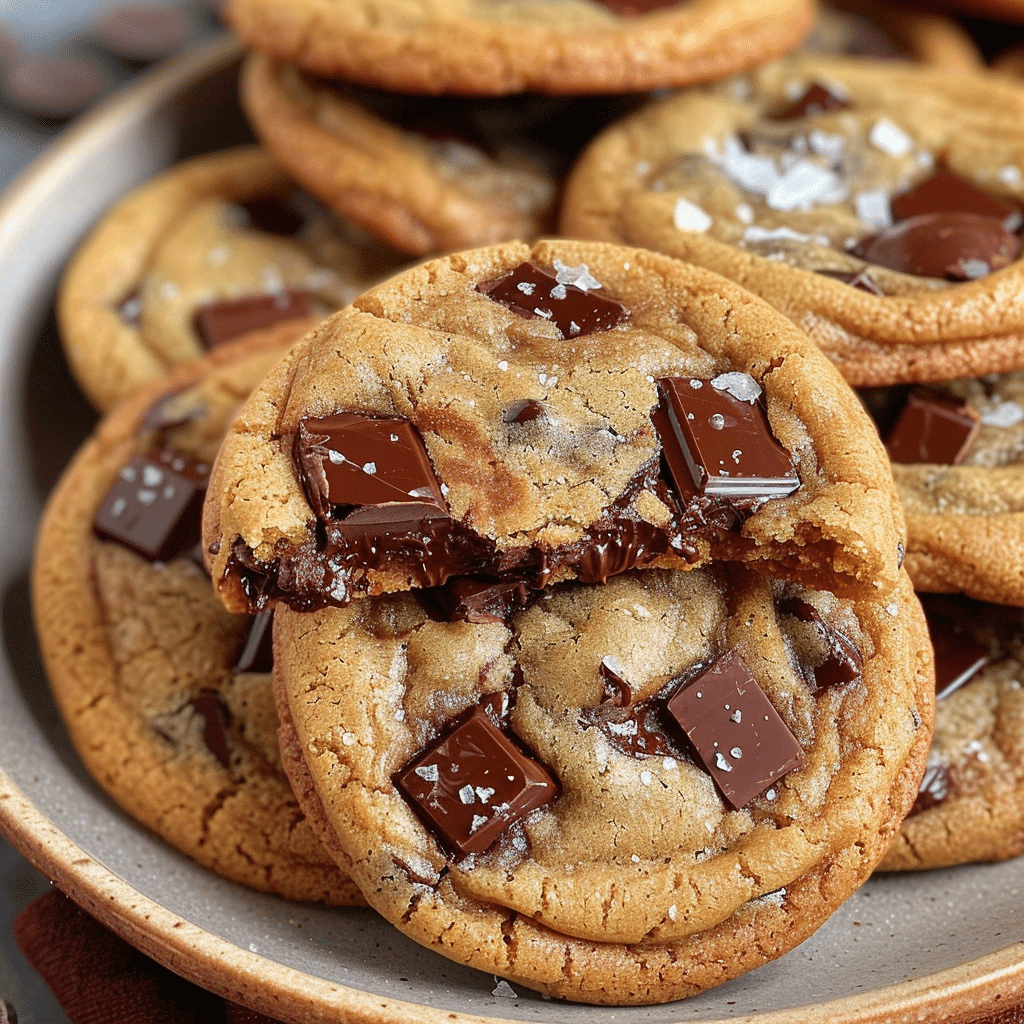
- Bake to the right doneness. Preheat the oven to 375°F (190°C) and line two baking sheets with parchment paper. Scoop the chilled dough into balls of approximately 2 tablespoons each and place 2 inches apart on the prepared sheets. Press a few reserved chocolate chunks onto the visible surfaces of each dough ball for a more dramatic, bakery-style chocolate presentation once baked. Bake for 10–12 minutes — the edges should be set and golden and the centers should still look slightly underdone, glossy, and soft. This underdone appearance is correct and intentional — the cookies continue cooking from residual heat during the resting period on the pan.
- Salt and cool. Immediately after removing from the oven, sprinkle a small pinch of flaky sea salt over each warm cookie — the salt adheres better to warm cookies and slightly melts into the surface in a way that distributes the flavor more evenly than salting after cooling. Allow the cookies to rest on the baking sheet for exactly 5 minutes before transferring to a wire rack — moving them too early risks them falling apart before the structure has fully set.
Servings and Pairing
This recipe makes approximately 16 cookies. Brown Butter Chocolate Chip Cookies pair beautifully with a cold glass of whole milk, a hot espresso or cappuccino, or a scoop of vanilla bean ice cream sandwiched between two cooled cookies for the ultimate ice cream sandwich experience. For a dessert platter, serve alongside chocolate truffles, fresh berries, and whipped cream for an effortlessly elegant spread.
Variations
Extra Chunky Version
Replace all the semisweet chips with additional roughly chopped dark and milk chocolate in roughly equal amounts for cookies that are loaded with irregular chocolate pieces of varying sizes — some tiny shards that melt completely into the dough, some large chunks that pool into dramatic chocolate puddles visible on the surface of each baked cookie.
Espresso Brown Butter Version
Add 1 teaspoon of instant espresso powder to the dry ingredients before folding into the wet mixture. The espresso amplifies and deepens the chocolate flavor significantly without making the cookies taste like coffee — a particularly sophisticated variation that pairs exceptionally well with the nutty brown butter.
Stuffed Version
Flatten each dough ball slightly, place a square of dark chocolate or a frozen tablespoon of Nutella in the center, and seal the dough around it before baking. The center melts during baking into a molten, gooey chocolate core that makes each cookie a genuinely extraordinary eating experience.
Storage Tips
- Room temperature: Store in an airtight container at room temperature for up to 5 days. Place a slice of white bread in the container to help maintain the soft, chewy texture of the centers throughout their shelf life.
- Freezer: Freeze baked cookies in a single layer until solid then transfer to a freezer bag for up to 3 months. Warm individual cookies in the microwave for 15–20 seconds for a just-baked quality that is genuinely remarkable. Alternatively freeze unbaked dough balls for up to 3 months and bake directly from frozen adding 2–3 extra minutes to the baking time.
- Dough: The unbaked dough keeps in the refrigerator for up to 48 hours — the longer chill time produces the most complex, developed flavor of any resting period and is highly recommended when time allows.
FAQs
Why did my cookies spread too much and turn out flat?
The most common causes of flat cookies are inaccurate flour measurement — too little flour allows the dough to spread more during baking — dough that was not chilled before baking, or butter that was too hot when the sugars were added and began to melt them prematurely. Always spoon flour into the measuring cup, chill the dough for at least 30 minutes, and allow the brown butter to cool to warm before proceeding.
Can I use unsalted butter instead of salted?
Yes — use the same quantity of unsalted butter and increase the added salt from ¼ teaspoon to ½ teaspoon to compensate. Salted butter is the preferred choice in this recipe because the salt is already distributed evenly throughout the fat and interacts with the browning process in a way that subtly enhances the overall flavor of the finished brown butter.
How do I know when the butter is perfectly browned and not burned?
Perfectly browned butter has amber-colored milk solids on the bottom of the pan, a deeply golden liquid above them, and smells unmistakably nutty, toasted, and slightly caramel-like. Burned butter has very dark brown or black milk solids and smells acrid and bitter rather than nutty. The window between perfect and burned is very narrow — once the foam subsides and you see golden solids forming, stay at the stove and remove from heat immediately when the color and smell tell you it is done.
Final Thoughts
Chewy Brown Butter Chocolate Chip Cookies are the baking discovery that permanently changes your standard and makes every other cookie recipe feel like it is missing something — because after tasting these, it genuinely is. Nutty, caramelized, loaded with two types of chocolate, chewy in the center, crispy at the edge, and finished with flaky sea salt that makes every flavor in the cookie taste more itself — these are the cookies worth making time for on any weekend. Bake a batch once and prepare to make them every single week from that point forward!
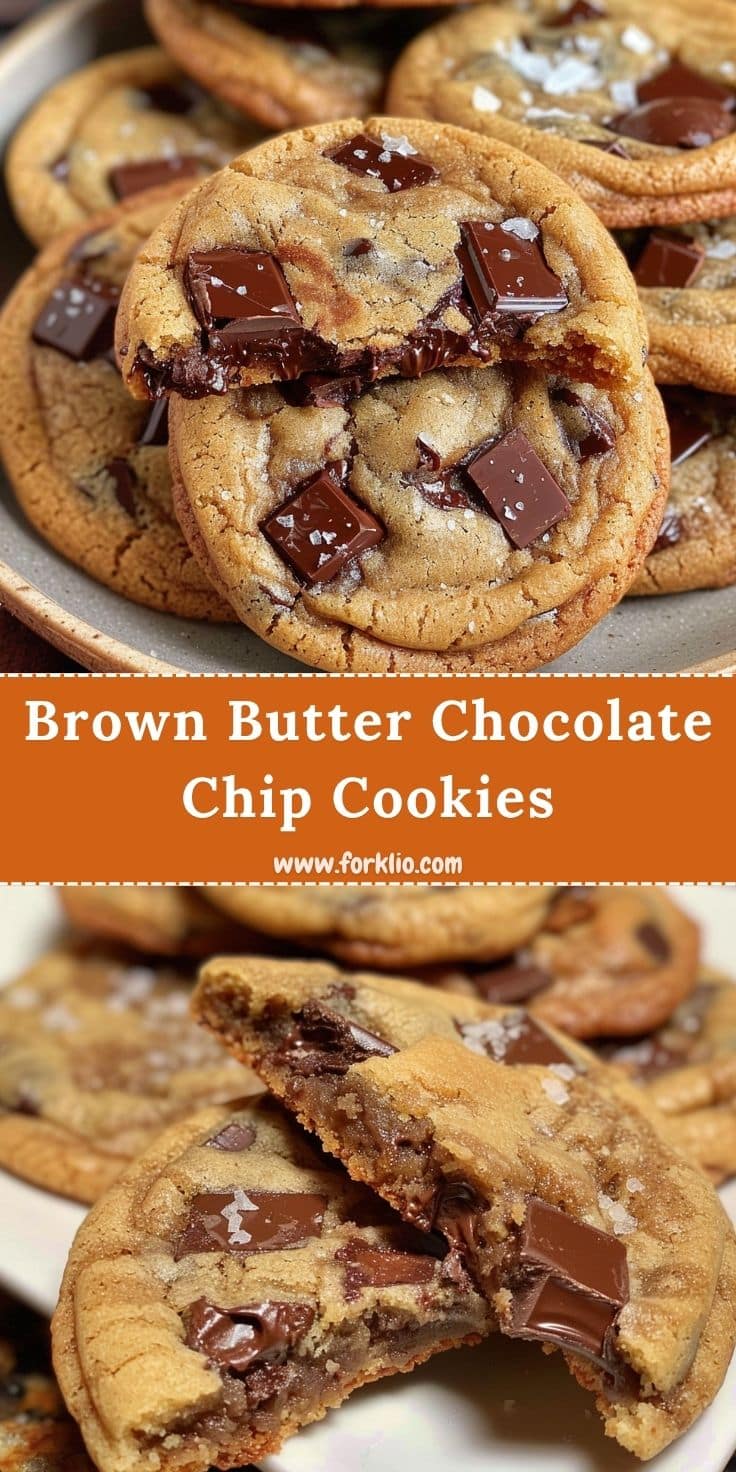
Chewy Brown Butter Chocolate Chip Cookies
- Total Time: 1 hour 11 minutes
- Yield: 16 cookies
- Diet: Vegetarian
Description
Deeply nutty brown butter chocolate chip cookies made with a combination of dark chocolate chunks and semisweet chips, packed brown sugar for chewiness, and finished with optional flaky sea salt. Crispy golden edges, gooey chocolate-studded centers, and a rich caramelized butter flavor that makes these the most craveable cookies you will ever bake.
Ingredients
- 10 tablespoons (140g) salted butter
- 1½ cups (215g) all-purpose flour, measured accurately
- ¾ teaspoon baking soda
- ¼ teaspoon salt
- ⅔ cup (145g) packed light brown sugar
- ⅓ cup (65g) granulated sugar
- 1 large egg, room temperature
- 1 tablespoon (15ml) milk
- 1 teaspoon (5ml) pure vanilla extract
- 3 oz (85g) dark chocolate, coarsely chopped into chunks
- ½ cup (85g) semisweet chocolate chips
- Flaky sea salt, optional for topping
Instructions
- Brown the butter. Place the butter in a light-colored saucepan over medium heat. Cook, stirring frequently, until the butter melts, foams, and then the foam subsides revealing golden-brown milk solids on the bottom of the pan — about 4–5 minutes. The butter should smell deeply nutty and toasted. Pour immediately into a large mixing bowl, including all the browned bits, and allow to cool for 10–15 minutes until it is warm but no longer hot.
- Whisk the brown sugar and granulated sugar into the cooled brown butter until smooth and combined. Add the room temperature egg, milk, and vanilla extract and whisk vigorously for 60 seconds until the mixture is slightly lighter in color and well blended.
- In a separate bowl, whisk together the flour, baking soda, and salt. Add the dry ingredients to the wet ingredients and fold with a spatula until just combined and no dry streaks remain.
- Fold in the dark chocolate chunks and semisweet chocolate chips until evenly distributed throughout the dough.
- Cover the dough and refrigerate for at least 30 minutes — up to 48 hours for the best flavor and texture.
- Preheat oven to 375°F (190°C). Line two baking sheets with parchment paper.
- Scoop the chilled dough into balls of approximately 2 tablespoons each and place 2 inches apart on the prepared baking sheets. Press a few extra chocolate chunks onto the tops of each ball.
- Bake for 10–12 minutes until the edges are set and golden and the centers still look slightly underdone and glossy.
- Immediately after removing from the oven, sprinkle with flaky sea salt if using. Cool on the baking sheet for 5 minutes before transferring to a wire rack.
Notes
- Use a light-colored saucepan to brown the butter — it is the only way to clearly see the color of the milk solids changing from golden to brown without burning them.
- Do not skip the chilling step — rested dough produces cookies with better flavor, thicker centers, and crispier edges than dough baked immediately after mixing.
- Pull the cookies from the oven when the centers still look slightly underdone — they continue cooking on the hot pan during the 5-minute rest and will be perfectly chewy once fully cooled.
- Prep Time: 30 minutes
- Chilling Time: 30 minutes
- Cook Time: 11 mins