
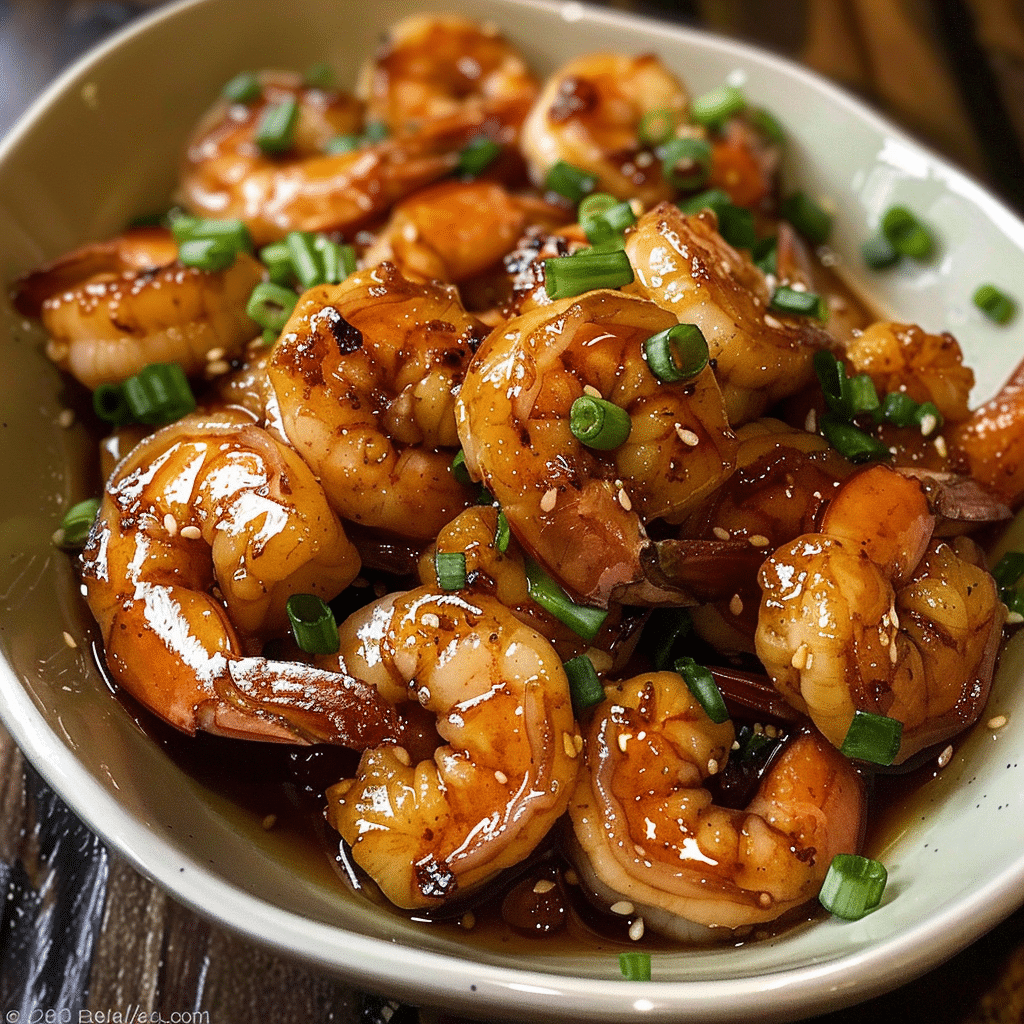
Some weeknight dinners earn their place in the rotation by being reliable, and this honey garlic shrimp has become one of the most reliable recipes in my kitchen. Twenty minutes from start to finish, a handful of pantry ingredients, and the result is a sticky, glossy, sweet-and-savory shrimp dish that tastes like something you’d order at a restaurant and keep thinking about long after the plates are cleared.
What makes this recipe so endlessly appealing is how much flavor comes from so little effort. Honey, soy sauce, garlic, and a touch of fresh ginger come together into a sauce that coats every shrimp in a rich, caramelized glaze that works over rice, noodles, or even just a pile of steamed vegetables. It’s the kind of dinner that makes a busy Tuesday feel manageable.
Why You’ll Love This 20-Minute Honey Garlic Shrimp
This recipe proves that dinner doesn’t need to be complicated to be genuinely impressive. Just five core ingredients and one skillet deliver a sticky, deeply flavorful shrimp dish that’s ready faster than takeout and tastes better too. It’s naturally light, endlessly versatile in terms of what you serve it over, and comes together with almost zero cleanup.
Ingredients for 20-Minute Honey Garlic Shrimp
Honey: forms the sweet, sticky base of the sauce and helps it caramelize beautifully around the shrimp; maple syrup can be used as a substitute for a slightly different sweetness.
Soy sauce: adds the salty, umami depth that balances the sweetness of the honey; tamari or coconut aminos work well as gluten-free alternatives.
Garlic: brings bold, savory flavor that pairs perfectly with the sweet sauce; fresh garlic gives the most vibrant result, though jarred minced garlic works well for convenience.
Fresh ginger: adds a warm, slightly spicy note that elevates the entire sauce; ground ginger can be used in a smaller amount as a substitute.
Medium shrimp: cook in minutes and soak up the sauce beautifully; large shrimp can be used with a slightly longer cook time.
Olive oil: helps sear the shrimp quickly; avocado oil or any neutral cooking oil works just as well.
Craving the exact amounts? You’ll find all the precise measurements in the recipe card below!
How to Make 20-Minute Honey Garlic Shrimp
Step 1: Mix the Sauce
Whisk together the honey, soy sauce, minced garlic, and fresh ginger in a small bowl until smooth and combined. The sauce should smell incredible already, with that irresistible combination of sweet and savory.
Step 2: Prep the Shrimp
Pat the peeled and deveined shrimp completely dry with paper towels. This simple step makes all the difference between shrimp that sear beautifully and shrimp that steam in their own moisture.
Step 3: Sear the Shrimp
Heat olive oil in a large skillet over medium-high heat until shimmering. Add the shrimp in a single layer and cook for just a minute or two per side, watching for that pink color to spread from the edges inward.
Step 4: Add the Sauce
Pour the honey garlic sauce over the cooked shrimp and toss to coat every piece. The sauce will begin to sizzle and bubble immediately, filling the kitchen with a deeply inviting aroma.
Step 5: Simmer and Glaze
Let the sauce simmer for a minute or two, stirring the shrimp through it until the liquid reduces slightly and clings to each piece in a glossy, caramelized glaze.
Step 6: Garnish and Serve
Scatter chopped green onion over the top and serve immediately over steamed rice, noodles, or vegetables while the glaze is still warm and sticky.
Tips for Success
- Pat shrimp completely dry before cooking for the best sear and sauce adhesion.
- Cook shrimp in a single layer and avoid crowding the pan for even cooking.
- Pull shrimp off the heat the moment they curl into a C shape and turn pink.
- Have the sauce ready to pour in immediately after the shrimp are seared.
- Use fresh garlic over jarred whenever possible for the most vibrant flavor.
- Serve immediately while the glaze is at its stickiest and most flavorful.
Equipment Needed
- Large skillet: needed for cooking the shrimp in a single layer; a cast iron or stainless steel skillet gives the best sear.
- Small mixing bowl: for whisking the honey garlic sauce together before cooking.
- Paper towels: essential for patting the shrimp dry before they hit the hot pan.
Variations
- Gluten-Free: use tamari or coconut aminos instead of regular soy sauce.
- Lighter Version: reduce the honey slightly and add a squeeze of fresh lime juice to brighten the sauce.
- Faster Version: use pre-peeled frozen shrimp that’s been quickly thawed under cold running water.
- Budget-Friendly: use smaller shrimp, which are often more affordable while still soaking up the sauce beautifully.
- High-Protein Boost: serve over quinoa instead of rice for a higher-protein grain base.
Serving Suggestions
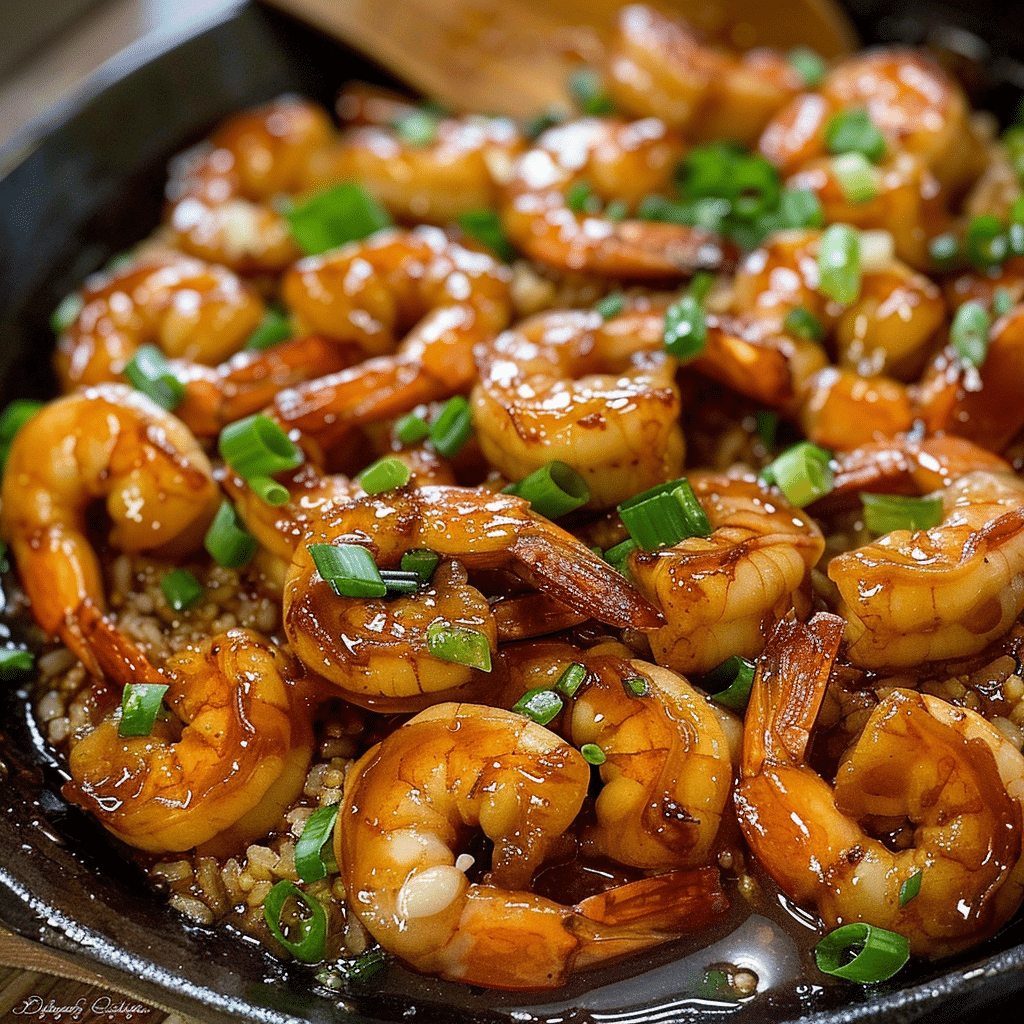
- Serve over steamed jasmine rice with extra sauce spooned over the top.
- Pair with stir-fried bok choy or steamed broccoli for a complete meal.
- Enjoy over rice noodles with a squeeze of lime and extra green onion.
- Spoon over a simple grain bowl with cucumber, avocado, and sesame seeds.
FAQs about 20-Minute Honey Garlic Shrimp
Can I use frozen shrimp for this recipe?
Yes, frozen shrimp works perfectly well. Thaw completely under cold running water, then pat very dry before cooking for the best sear and sauce adhesion.
How do I know when the shrimp are done?
Shrimp are done when they turn pink and opaque and curl into a loose C shape. An O shape means they’re overcooked, so watch closely and pull them off the heat quickly.
Can I make the sauce ahead of time?
Yes, the honey garlic sauce can be made several days ahead and stored in a sealed jar in the refrigerator. Give it a quick whisk before using.
What’s the best thing to serve this over?
Steamed rice is the classic pairing, but these shrimp are equally delicious over noodles, cauliflower rice, stir-fried vegetables, or even in lettuce cups for a lighter option.
Final Thoughts
This 20-minute honey garlic shrimp is one of those recipes that makes weeknight cooking feel genuinely manageable and rewarding, delivering a sticky, glossy, deeply flavorful dinner with minimal ingredients and almost no effort. Whether it becomes your go-to busy night meal or your favorite way to impress guests without the stress, this is a recipe worth making again and again.
20 Minute Honey Garlic Shrimp
- Total Time: 20 minutes
- Yield: 4 servings
Description
Tender shrimp cooked in a sticky, sweet, and savory honey garlic sauce, ready in just 20 minutes for one of the easiest and most satisfying weeknight dinners you can make.
Ingredients
- 1/3 cup honey
- 1/4 cup soy sauce (reduced sodium recommended)
- 2 garlic cloves, minced (or 1 tsp jarred minced garlic)
- 1 tsp minced fresh ginger, optional
- 1 lb medium uncooked shrimp, peeled and deveined
- 2 tsp olive oil
- Chopped green onion, optional for garnish
Instructions
- In a small bowl, whisk together the honey, soy sauce, minced garlic, and ginger if using. Set aside.
- Pat the shrimp dry with paper towels.
- Heat the olive oil in a large skillet over medium-high heat.
- Add the shrimp in a single layer and cook for 1-2 minutes per side until pink and just cooked through.
- Pour the honey garlic sauce over the shrimp and toss to coat.
- Let the sauce simmer for 1-2 minutes, stirring occasionally, until it thickens slightly and glazes the shrimp.
- Garnish with chopped green onion and serve immediately over rice, noodles, or steamed vegetables.
Notes
- Pat the shrimp completely dry before cooking for the best sear.
- Don’t overcook the shrimp; they cook in minutes and turn rubbery quickly.
- Prep Time: 10 minutes
- Cook Time: 10 minutes